Specialist in Viking and Roman School Visits for Key Stage Two of the National Curriculum.
Award winning living history services and presentations for classroom education.
Making a new pair of Viking Shoes.
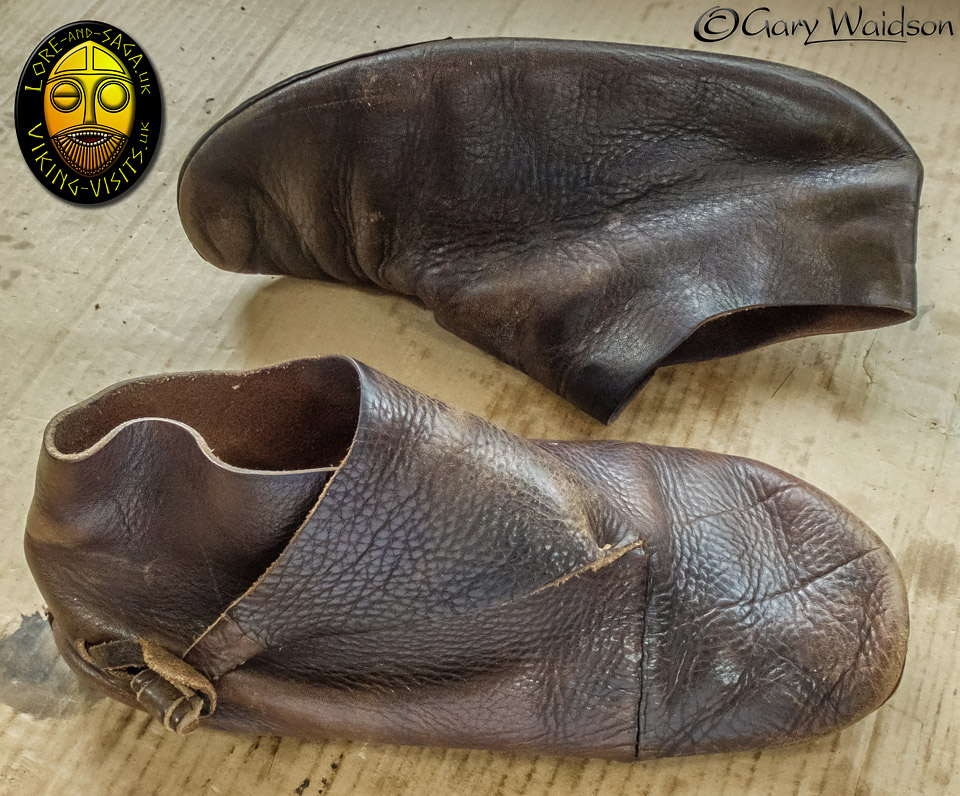
Many people have special work clothing whether it is a suit or safety boots and a helmet. My work clothes are obviously a little more specialised that those.
These are the boots I made a few years ago. At first glance they still look pretty serviceable but turn them over and it’s another story.
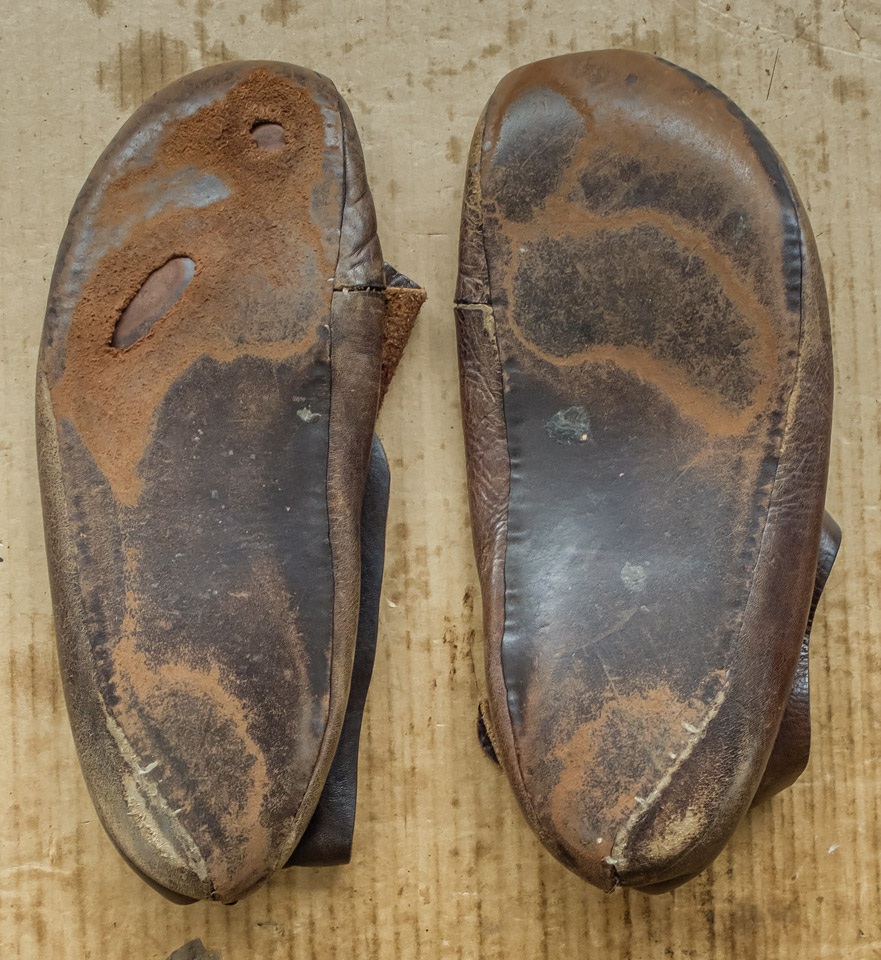
After somewhere in the region of 4000 hours of use on a mixture of modern surfaces they are now looking a bit the worse for wear. Time to make a new pair.
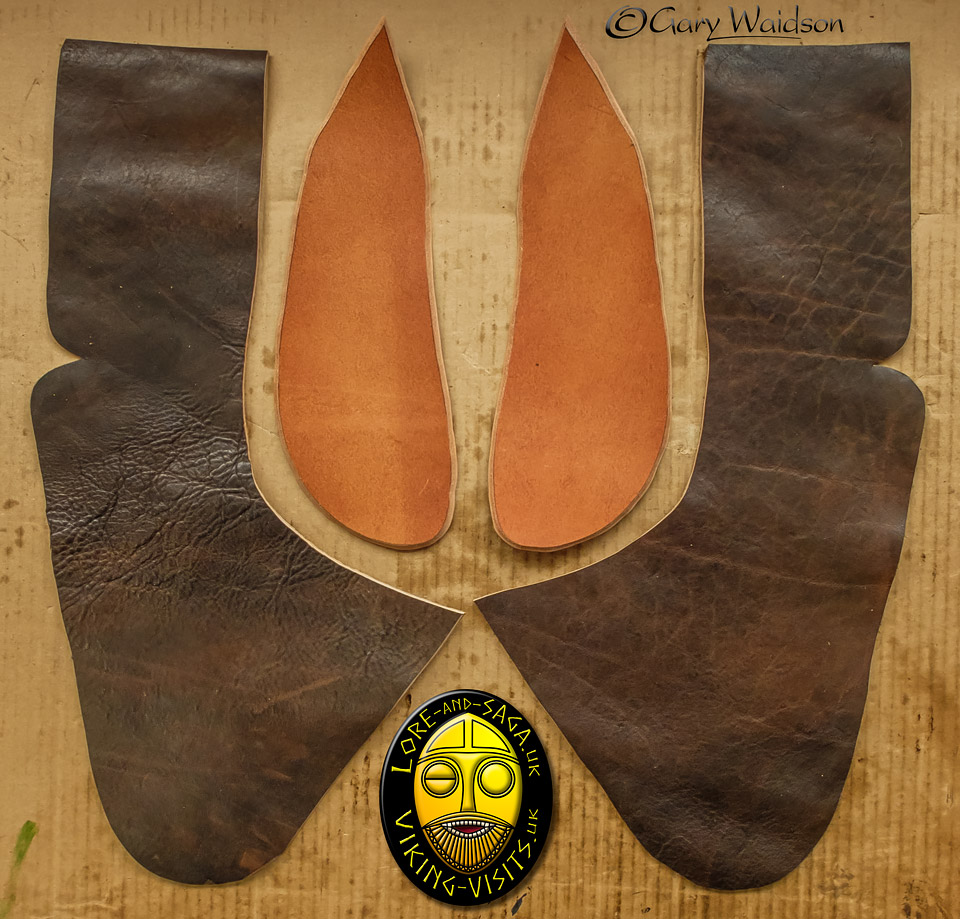
This is the start point of my current pattern. ( Mk. II )
It's not the final pattern because it will be adapted and trimmed to fit as I progress but this template has worked for the last half dozen pairs I've made so I don't muck about with it now.
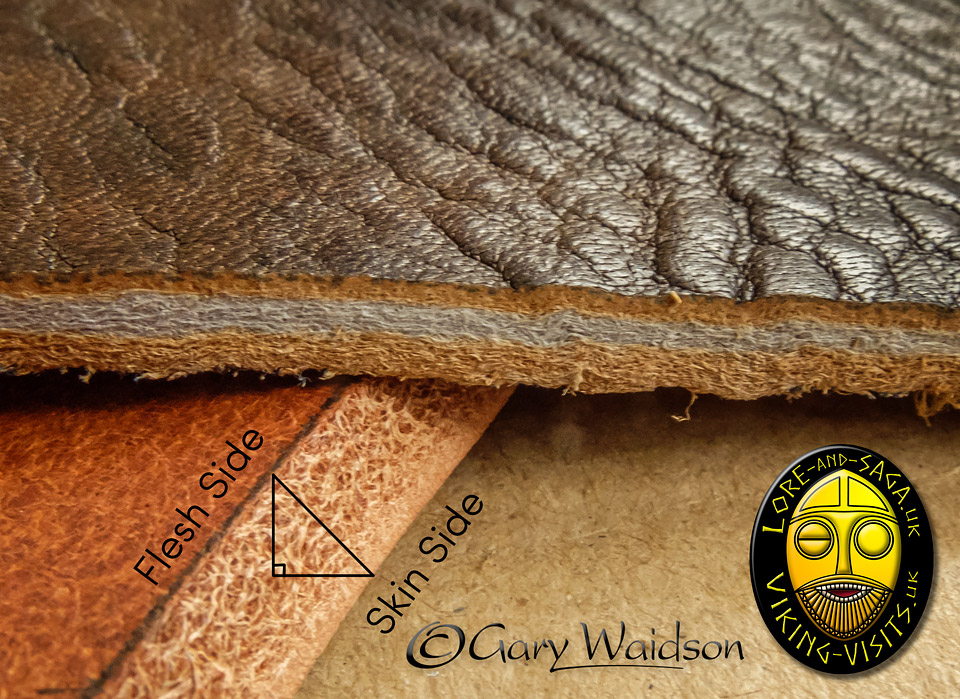
A few details that will not be apparent when the shoes are completed.
First of all the leather for the tops is not absolutely "authentic" I use a tough hard wearing leather that is commercially tanned because I am wearing them almost continuously when I am working and I don't have time to sit making new shoes all the time so I need them to last at least a couple of years.
The end result still looks correct so that is the most important thing.
Secondly, the sole is much thicker than the originals for the same reason given above. The sole is always the first part of the shoe to wear out, especially as I'm walking on modern abrasive surfaces like concrete and tarmac that the original shoes never had to compete with.
In my early shoes, the stitching was usually the first thing to fail. To counter that I now use rot proof synthetic sinew and I cut the edge of the sole with an outward angle, wider on the outer skin side so that the bevel covers the seam better when the shoe is turned inside out. Any visible stitching will be done in waxed linen of course.
None of those small but sensible compromises to authenticity will be visible in the finished product but they do help to ensure that I get a reasonable working life out of the shoes while operating in a modern environment.
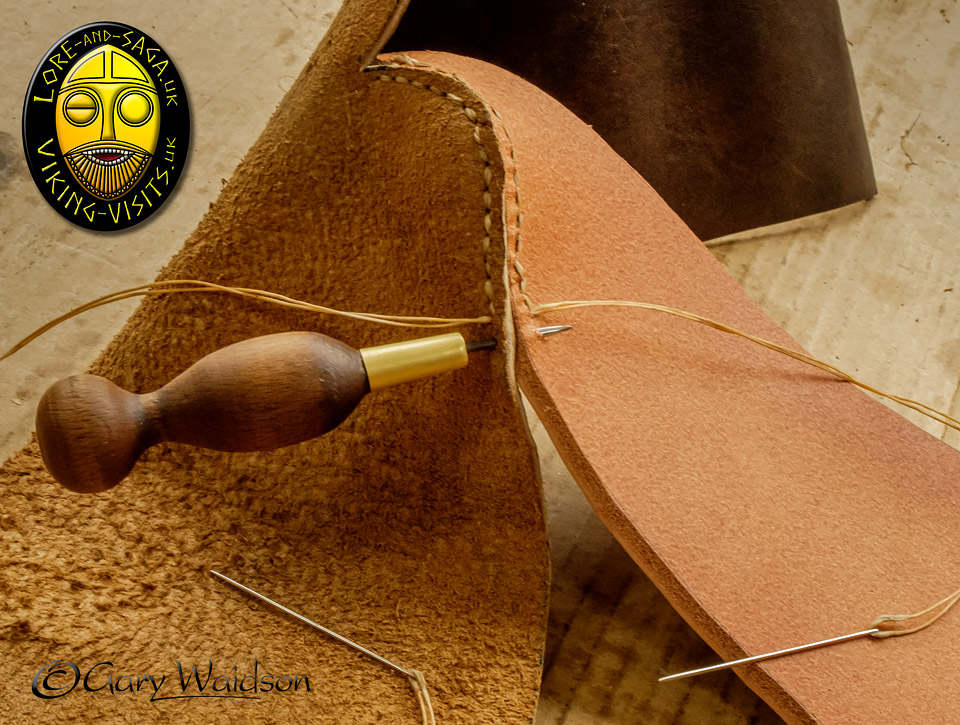
The stitching of the upper to the soles is done with a modified "Box Stitch" making use of the extra thickness in the sole to ensure that the stitch is protected on the outside by about half the thickness of the sole leather.
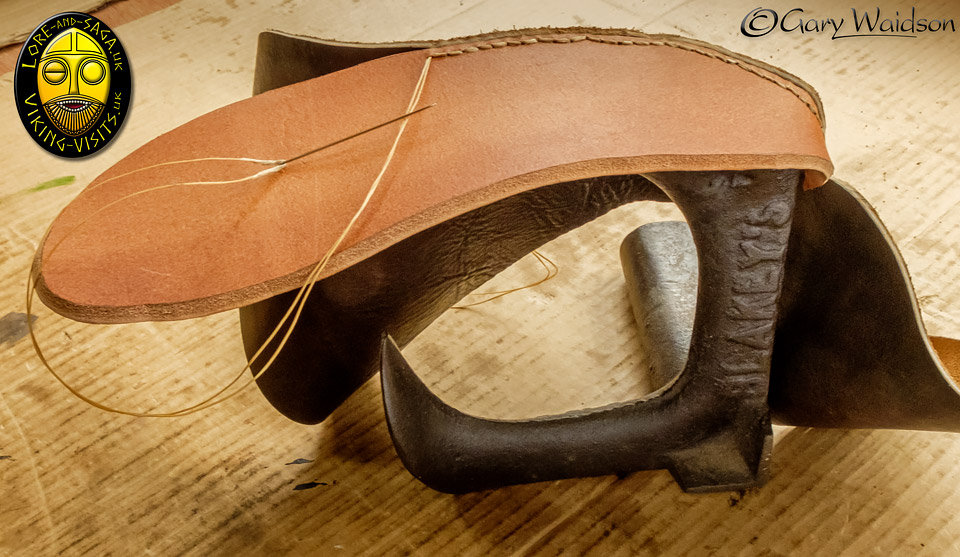
The shoe is made inside out, which leads to them often being referred to as "Turnshoes" because they need to be turned inside out when completed.
More about that later.
They are made freehand mostly. The only thing I use this old shoe anvil for is flattening the internal stitching with a mallet to make them smoother against the foot when being worn.
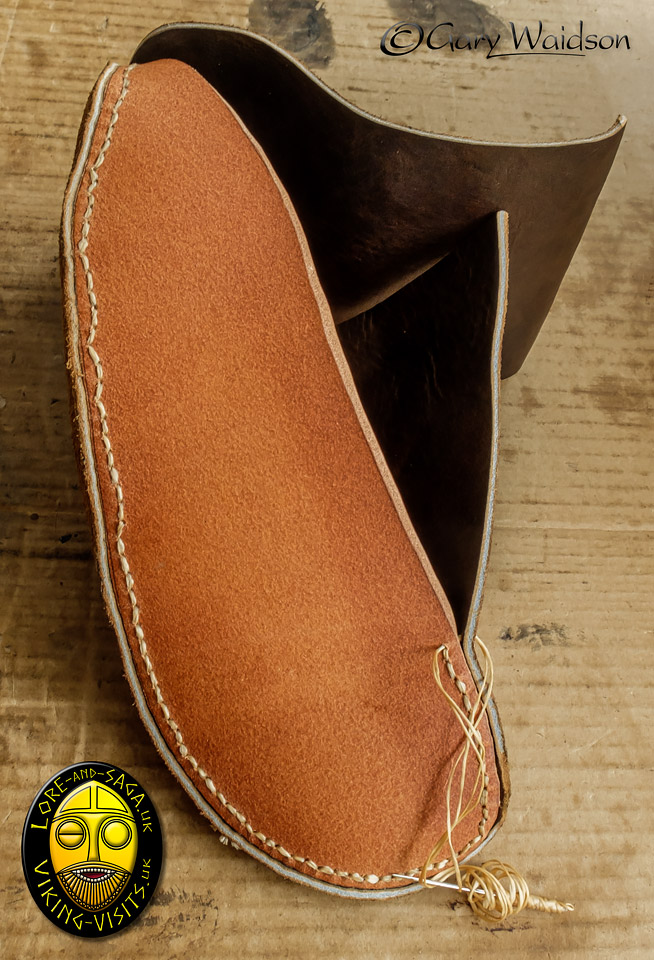
Having stitched round the toe section I stop, bundle up the remaining thread around the needles and drop them into the toe.
I need to start on the other side of the heel section next so I can bring each part of the upper together and work out exactly where the instep seam is going to be.
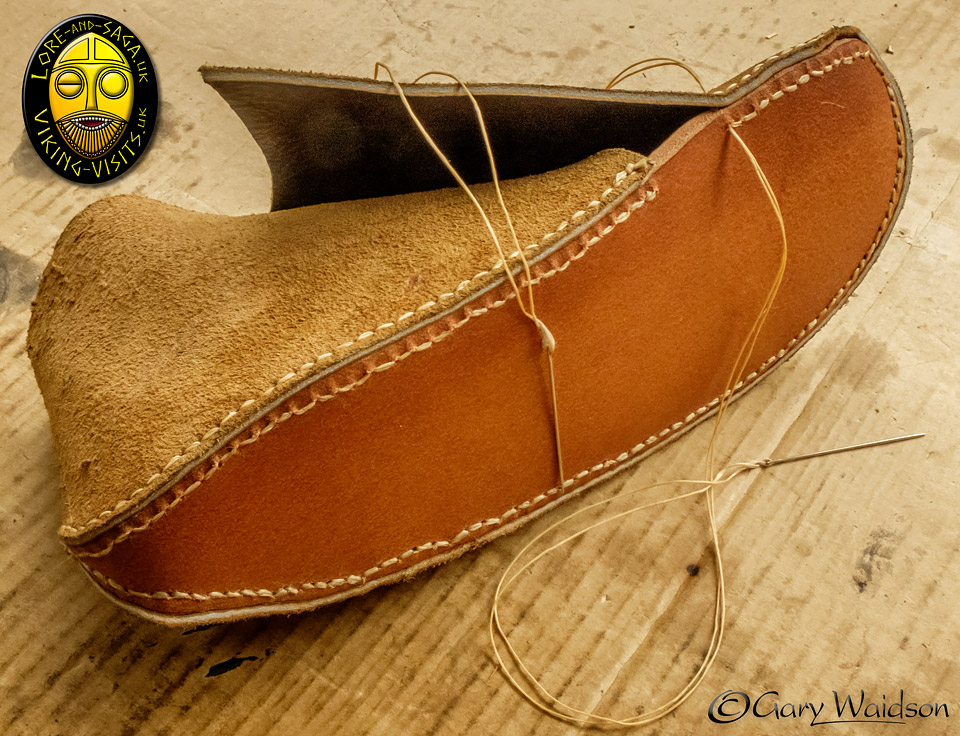
At this stage I can then see how many more stitches are required for the first seam and where to trim the excess leather.
However, I don't cut it away completely yet because the excess length will be needed to form the fastening for the shoe.
This is how I get the seams to fit together before making the main trim.
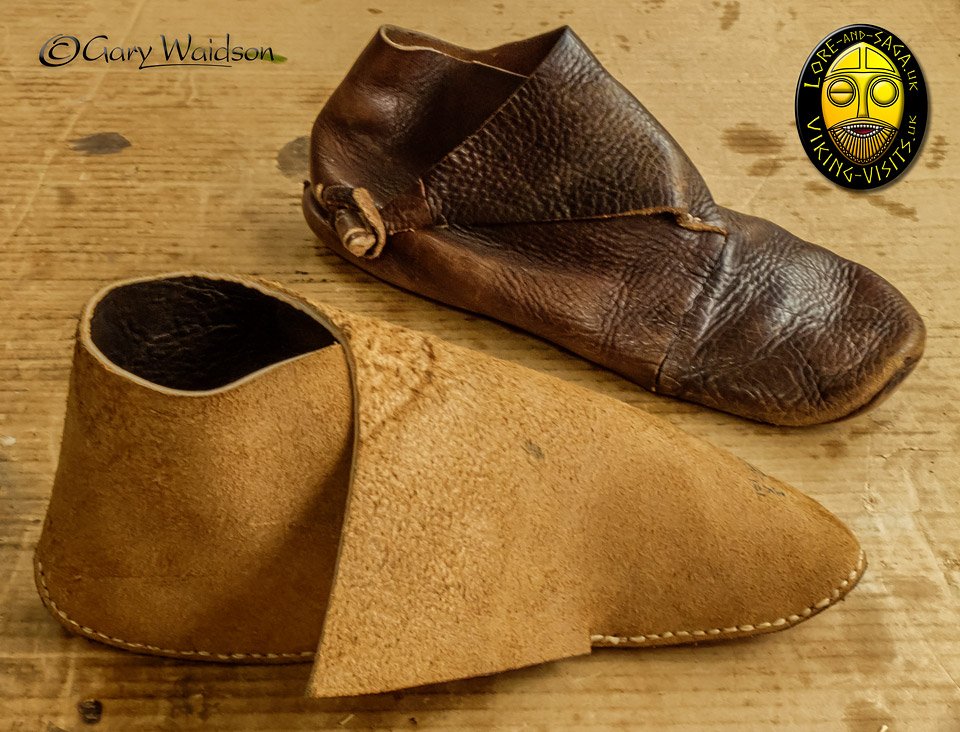
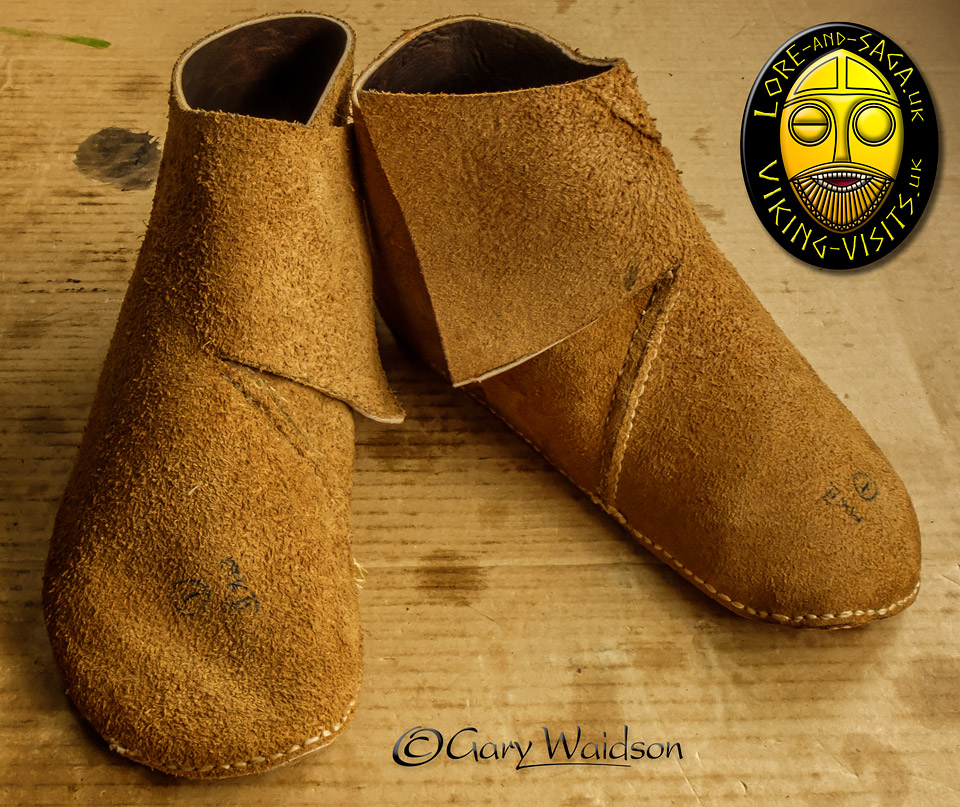
So here is the shoe, still inside out of course but I've dropped the older left boot in behind to give you an idea of how the flap will be trimmed to make the fastening strap.
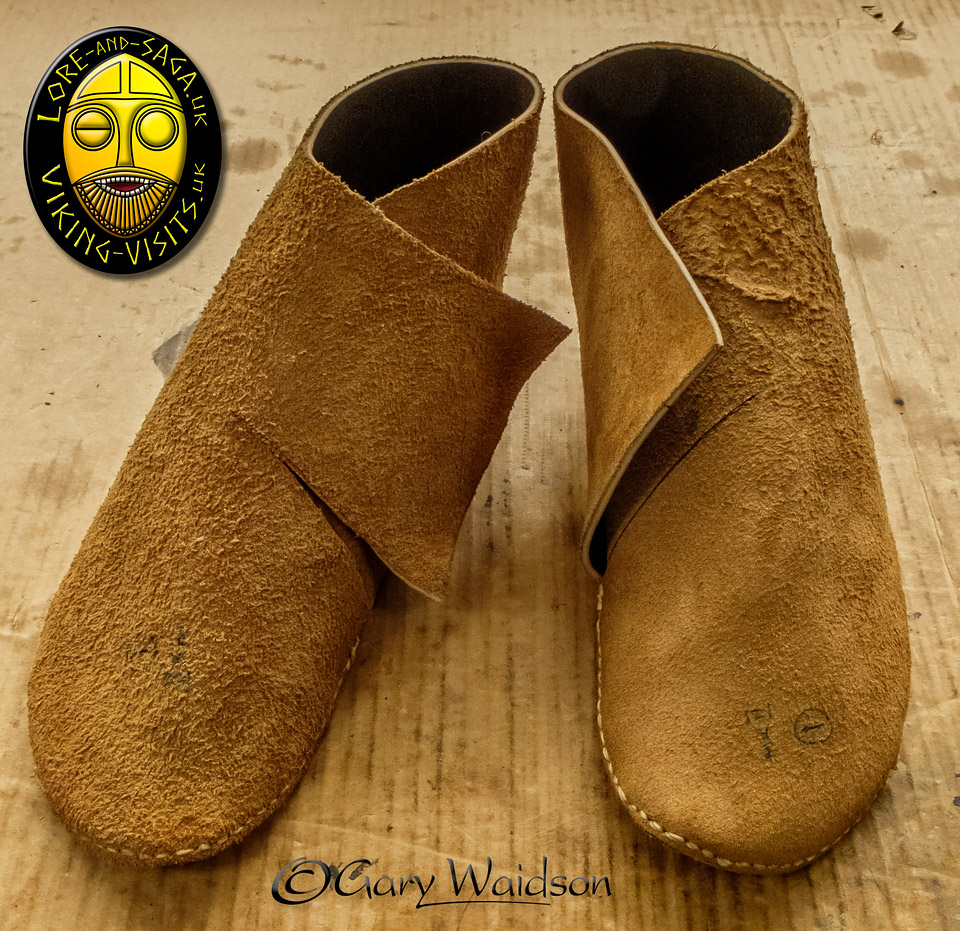
I am going to close the instep seams before turning the boots.
This will make the job of turning them more difficult but results in a neater job in the long run.
Folding the longer flap side under the short side allows me to find the centre line of the boot and mark it on the short side edge.
Running a pen down the edge marks the flap side showing where to cut it for a neat seam. You should be able to see the line and the mark on the edge in the boot on the right side of the picture.
The boot on the left has the flap side back on the top and you can see that it has already been cut.
The rest of the trimming can wait until the boot has been turned.
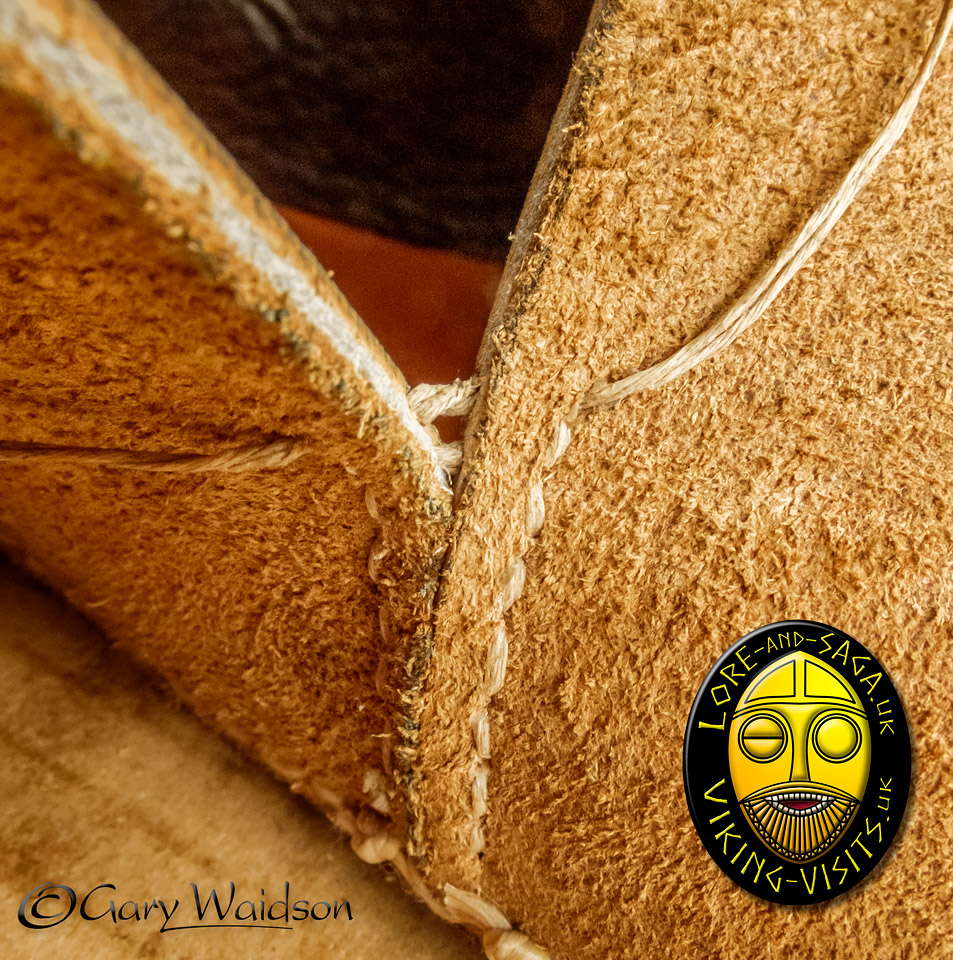
Tricky to show this properly in a photo but I am closing the seam with a traditional ”Butt Stitch” with the needles emerging from the edge of the leather beneath the skin surface so that when it is turned skin side out the stitching will not be visible.
You will note I have switched over to using finer waxed linen thread for this part as rot is less of a problem here compared to the soles.
|
That is all the internal seams complete then so it is time to chuck them in a bucket of water to soak for a couple of hours to soften the leather before turning them. |
|
|
|
|
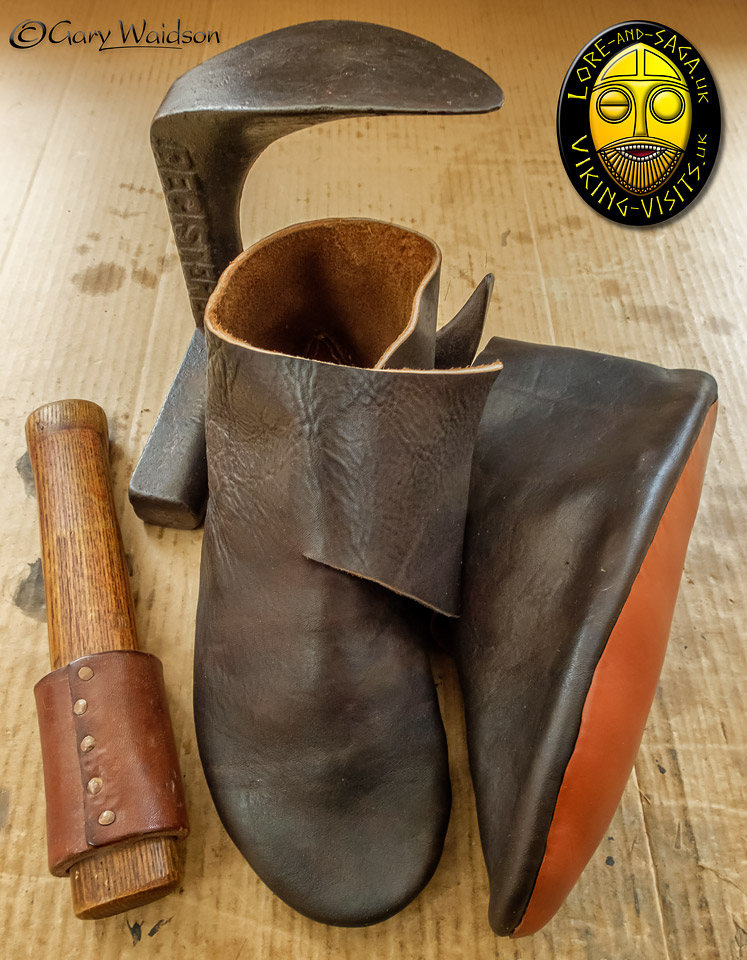
After a 30 minute wresting match here they are then.
All ready for trimming up when they are dry and I’ll measure up for the fastening strap when they are on my feet.
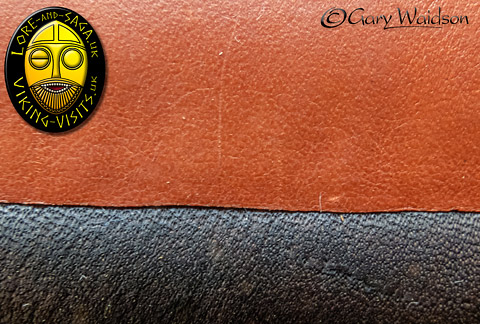
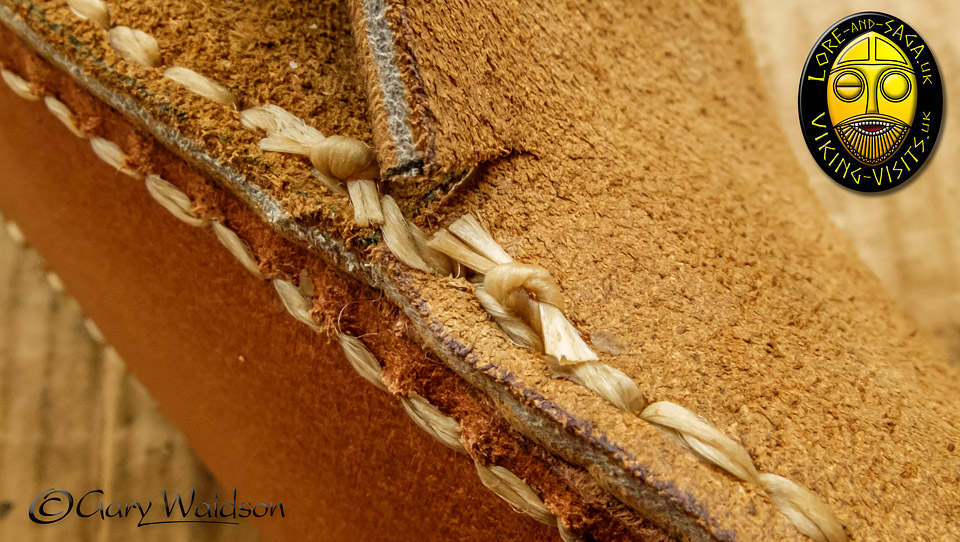
A couple of detail shots that demonstrate why the sole is cut at an angle.
You can see that the wider part of the bevel fills over the turned seam and helps stop grit entering the seam and causing wear.
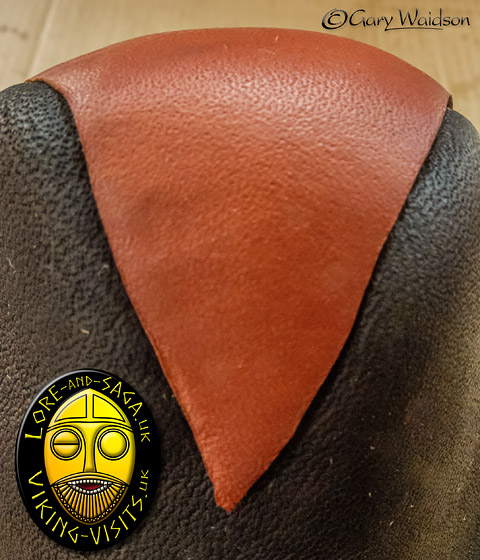
Once they are waxed the stitching should be nicely protected.
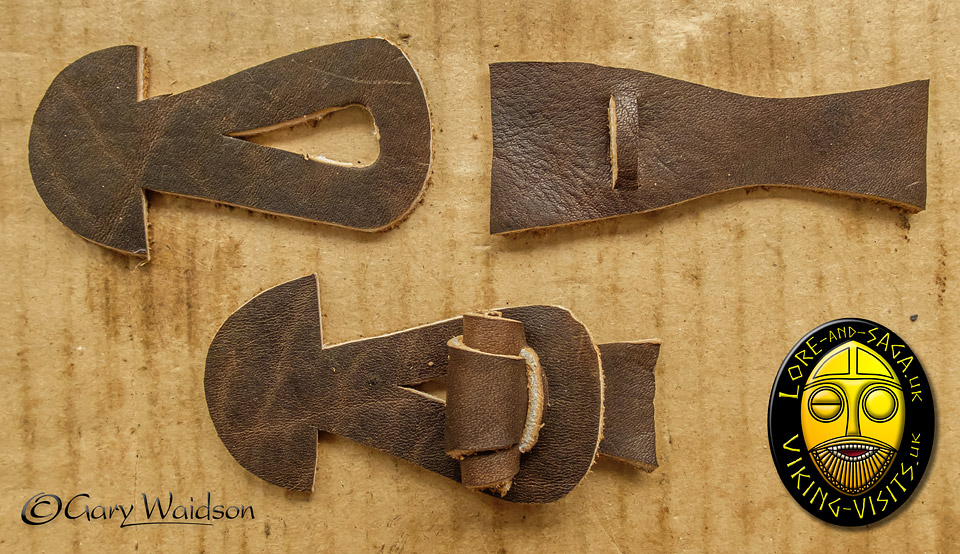
Final bit of leather cut from the scrap pieces.
The wide end of the right hand pieces are rolled up and the narrow ends fed through the loop to form toggles.
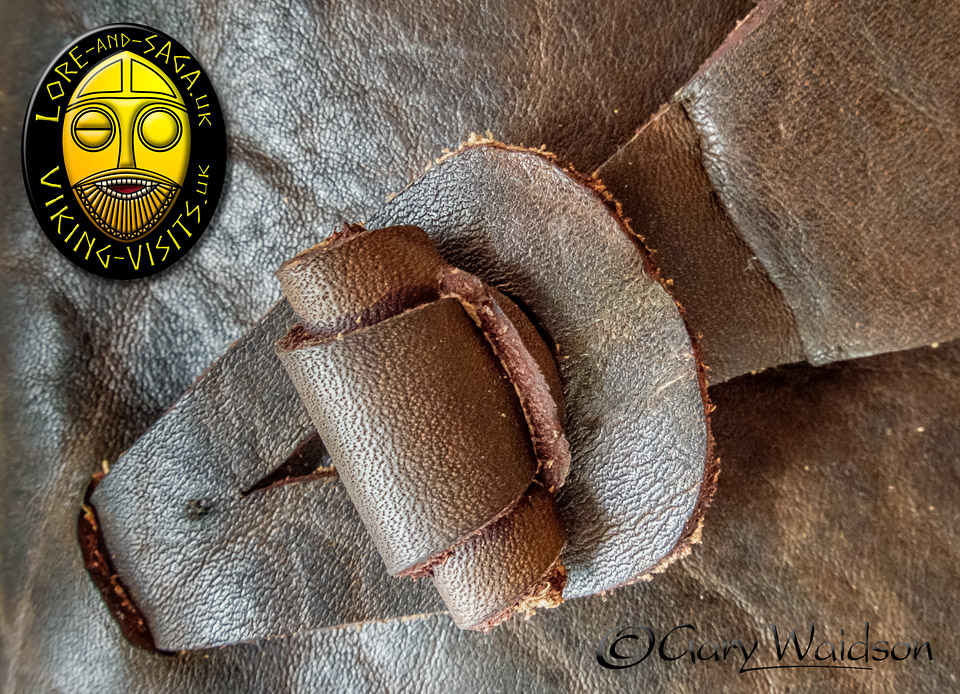
With the shoe on my foot, I can then draw the flap around and mark the positions for the toggle and the loop.
The loop is threaded through a simple cut near the heel and the toggle is attached to the flap with a “Butt Stitched” seam again.
Once that is done the excess parts of the flap can be trimmed away.
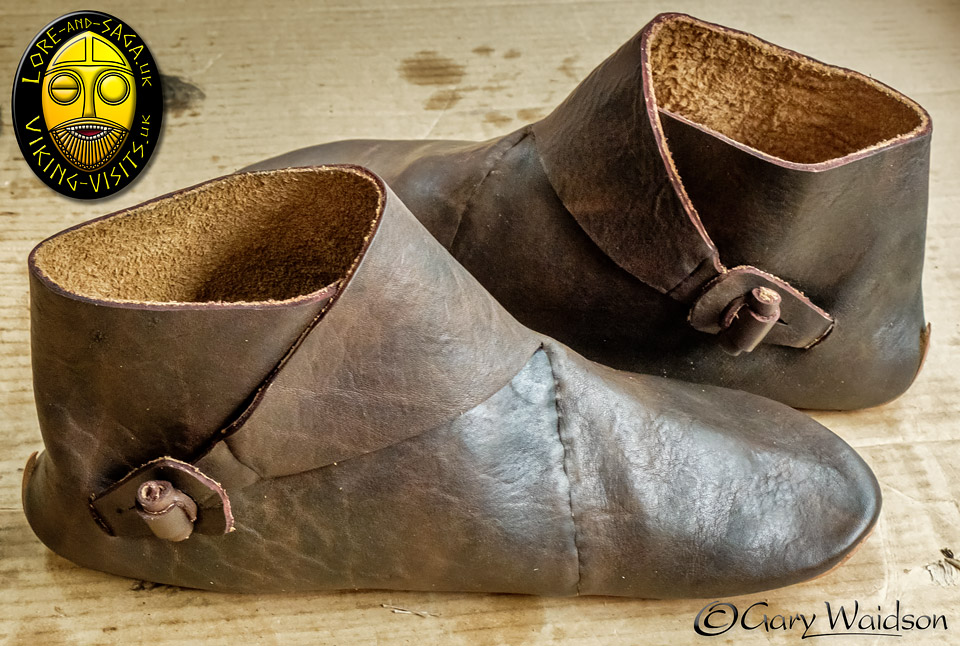
So here we have the job done.
My next pair of Viking style shoes that should give me a couple of years service while giving my school presentations.

